Starting a horse to drive from the beginning is something that takes tons of time and patience. It is easy to overlook and skip steps during the rush of excitement you might have when setting goals for you and your horse. It is often that I get asked about starting a horse or donkey to drive who has not really had any other training other than leading in a halter and maybe tying.
There are several things you can do with your equine to prepare them to drive. Most of these things can be done with youngsters who are too young to drive just yet, or by a beginner driver who may need to seek the help of a professional. These are the foundational training aids that I want a horse to be really concrete on before even needing a harness.
Simple Ground Manners
The most important first thing we need to think about is, does your horse have good ground manners? Do they willingly lead in a halter without running away, running into their handler, diving for grass… if you are always feeling like you need to hold on tight to your equine – this needs to be addressed first before anything else!
Your horse should match your gait on a loose lead. Not walking off when you stop. Not rushing to get to the next location. Not pulling you around where you feel like you need a tight rope to control them. And certainly not walking on top of you.
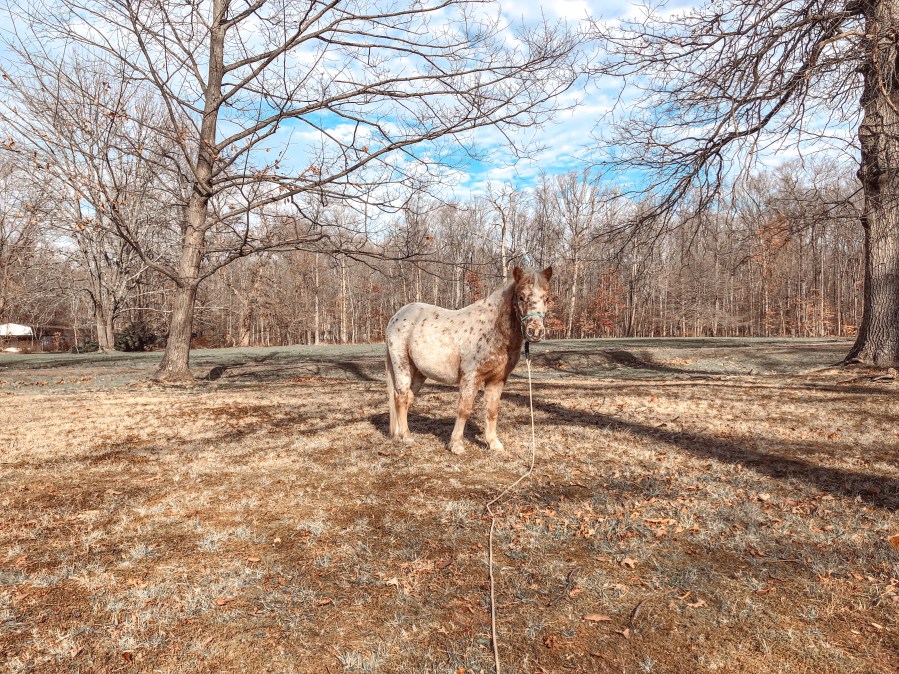
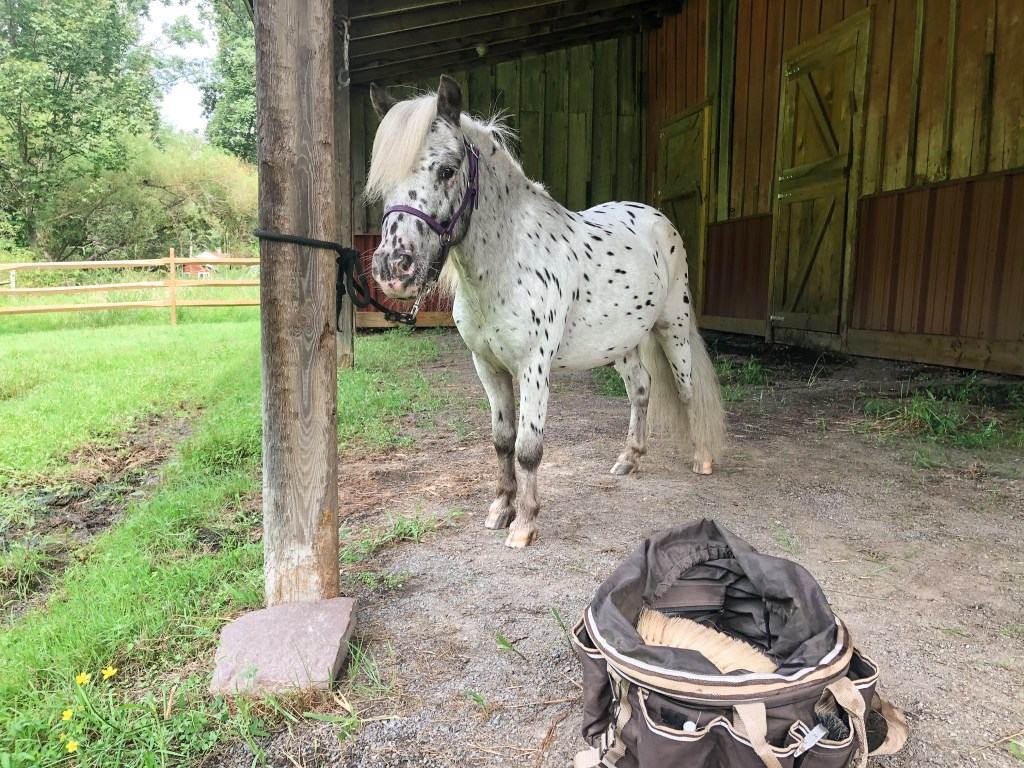
Your horse should also know the basics: having all four of their hooves lifted and picked out, standing to be groomed, remaining comfortable with new people or objects. The more things you can expose them to, the better. If your equine is one who frightens easily or runs away from new people, they are probably dealing with some serious confidence issues, and a driving horse who is out leading ahead of you must have a certain level of confidence for you both to enjoy driving safely.
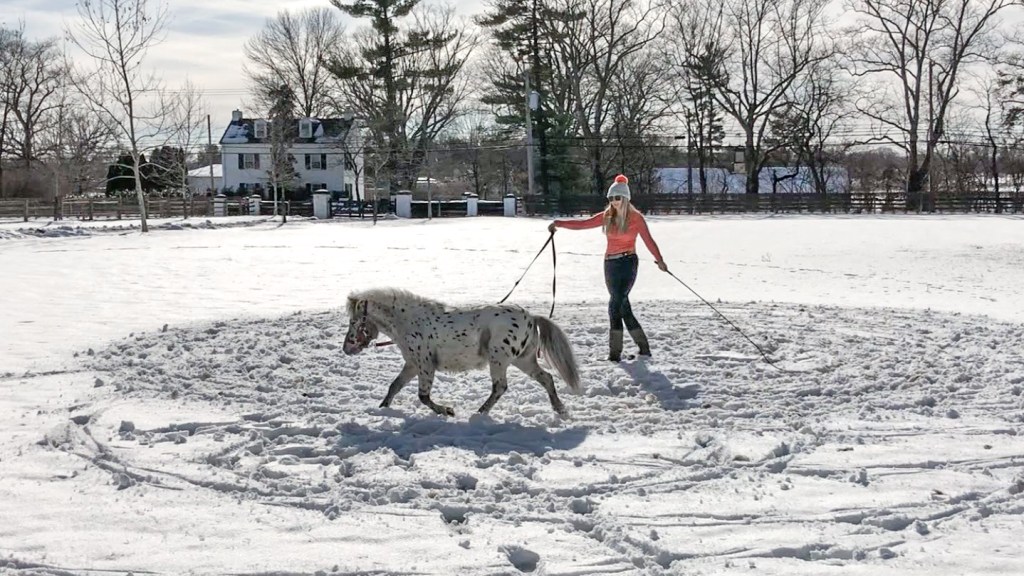
Working on a Single / Lunge Line
Working on a lunge line is a tool that I use with all of my driving horses – but probably not in the traditional way you might be used to.
I do NOT use the lunge line to run a horse around and burn off energy. I don’t even like to call it “lunging” because that method of working a horse has been so commonly misused.
I use the lunge line to establish effective communication with the horse. While I often prefer liberty work over a line – sometimes you have to work with what you have and not everyone has the right space for effective liberty work. And many times I find things work a little smoother when you have that level of physical contact without having to be right next to your horse when starting out.
So, how do I approach working on a line?
First, your horse should never run off out onto a circle from the line. They should be able to calmly walk off either way you ask them to. The line is not to be used to chase or pull your horse around. They should always be looking to you for guidance and cues. Of course, this takes practice. If your horse does rush out and run around on the line – ignore them. Talk calmly, ask them to relax. Sometimes they will need to get themselves out of this panic state by “running it off”, especially if that is all they know on the lunge line. This could take a while – especially if they are used to running on a line. This change of mindset will not happen overnight.
Usually when I am starting a horse who has not been worked on a line before we do not have this problem and they are happy to calmly walk around on the longer line. It’s the horses who have been chased or just never properly taught how to work on the line who associate the lunge line and circle with getting quick.
Just like with a lead line, the lunge line should not be used to hold onto your horse. They should work off of a loose line, listening to your body language and voice cues. Which brings me to my next point…
Voice Cues for all Gaits
This is probably the most important thing I need a horse to be really solid in before ever thinking about the harness. Working off of the line and/or at liberty, your horse should know voice cues for “woah”, “walk”, “trot”, “canter”, and “stand” – both in the upward and downward transition. They should be able to consistently perform each cue calmly and willingly.
In driving, you have three points of contact – your lines (connected to the bit in their mouth), your whip (which replaces your leg in riding), and your voice. For upward and downward transitions I like to say they should come from at least 90% of your voice with that 10% followed up by the lines or whip IF needed.
If your horse does not understand your voice cues, you’ve lost a third of the tools you have to communicate with them from behind. Not only is this extremely ineffective, but it is not safe. Especially for those wearing blinders when they cannot see you.. you and your horse both need to feel comfortable with each other through sound with clear communication through your voice cues.
Tying – Ground vs. Physical
As mentioned, “stand” is one of those voice commands your horse should know. This is an extremely important cue to use and practice with your horse! And in order for them to learn the voice cue, they must first know how to tie. In my opinion, your horse should know how to BOTH physically tie and ground tie.
The horses ability to calmly tie is not only going to make your life much easier, it is going to give your horse a safety net. You never know when there is an emergency you will need to tie your horse up, or an emergency trailer ride they will need to be tied up for. I like to make sure my horses can comfortably and safely tie without supervision. This is always done first in a break away halter under supervision. Please do not ever tie your horse up and leave them there if they do not have experience doing so. One way I practice this, is tying them to eat their morning meal. It gives them something positive to do while they get comfortable with the idea of being tied up.
Ground tying is also very important and how I teach the “stand” cue. You’ll want to start out with something simple, like ground tying in an enclosed area while you groom your horse so they can associate the standing with something they enjoy. Don’t expect them to stand for too long, give them breaks where they are allowed to move – especially for the younger horses.
I pretty much always use some form of positive reinforcement when teaching horses to stand tied, whether that is ground tied or physically tied. That can be in the form of scratches, food, grooming, praise – whatever is a high reward for your horse! Arie loves to play with a cone so we often stand in front of his favorite cones while he bites at it and picks it up.
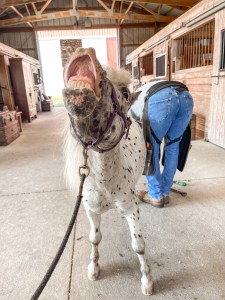
Wearing a Bridle and Bit
Bitting your horse is another thing that can be done before ever needing the harness, and is something you can easily do at home before sending your horse off to a professional, if that is something you are planning to do.
DISCALIMER: Please make sure you do this correctly – with patience. Bitting a horse is one of those things that is easy to do, but easy to mess up, and hard to correct if you mess it up.
The very first thing you need to do before bitting your horse – is have their mouth looked over by a qualified dentist or veterinarian. They will be able to tell if your horse has any sharp points that need to be floated in order for them to comfortably hold the bit. They may also give you some insight as to the structures in your horses mouth that might affect the type of bit that they will be most comfortable in. Chimacum Tack has a wonderful article on how to choose which bit to start your horse in I recommend that you take a look at.
After you have the clear from your dentist/vet to start bitting your horse, and you’ve chosen what bit you are going to start out with the only other thing you will need for now is a bridle or headstall.
Start out by introducing your horse to the bit and let them explore it orally on their own. Do this where they are comfortable, whether that is in their stall, paddock, or wherever they spend most of their time. When I was starting Jasper in the bit, Wallace would always come up and want to inspect it himself. He would just walk over and take the whole thing up in his mouth!! I figured he would be pretty easy to bit when the time came and that proved to be true.
One way to encourage them to inspect the bit on their own if they seem very uninterested, is to put it in a bucket with some hay pellets and let them eat out of the bucket with the bit in there. You can also try dipping it in apple juice or some other sweet stuff they like.
After they seem pretty comfortable with it, start by putting it in their mouth while holding it (as if it was on a bridle) for very short periods of time. You can increase time as they see fit. Then eventually you can start putting it on with the bridle or headstall. Just start out by having them wear it for normal routine activities. In their stall, while grooming, while your picking their paddock… pretty much whenever you can be there to supervise. Start out gradual and increase time as they become more comfortable. This is something you can easily do multiple times a day for short periods of time.
Disclaimer: DO NOT start applying pressure to the bit yet. If you want to lead them while wearing the bit, leave their halter on under the headstall and lead them from the halter. Same with tying – DO NOT tie a horse to the bit.
Following these steps will set your horse up to accept the bit with a very light mouth. Starting them out with pressure is a whole other topic, and one that I do not really recommend you start without the guidance of a professional if you are a beginner yourself.
Moving off of Pressure – The Whip
Earlier we talked about the three aids you have as a driver – one being the whip. Moving off of pressure, especially from the whip, is very important aid that your horse understands and is comfortable with before starting any harness work.
The whip is NOT a gas pedal. The whip replaces your leg in riding and is a tool used to ask your horse to move off of pressure. This starts on the ground.
Before even thinking about the whip in use from behind the horse, make sure they are comfortable with it. They should not react in a panic state when you pick up the whip… any whip. They should allow you to touch their entire body with the whip without reacting to it.
They should also move off of pressure from both your body and the whip. This goes back into those simpler ground manners. Sometimes you might have a horse who presses into you instead of moving away from you when you gently press on them to move over. This must be fixed before any harness work.. you do not want your horse rushing forward or bulging out when you apply your whip aid in the cart. I like to teach my horses to turn on the haunches and forehand as an introduction to this on the ground from my body first. Then the whip. Then you can start working on the side pass.
This is going to give your horse a beautiful start to working off the the whip when we get to ground driving.
Partnership
There are still plenty of other things you can work on with your driving prospect before needing a harness. Moral of the story is, the more you can expose them to – the better.
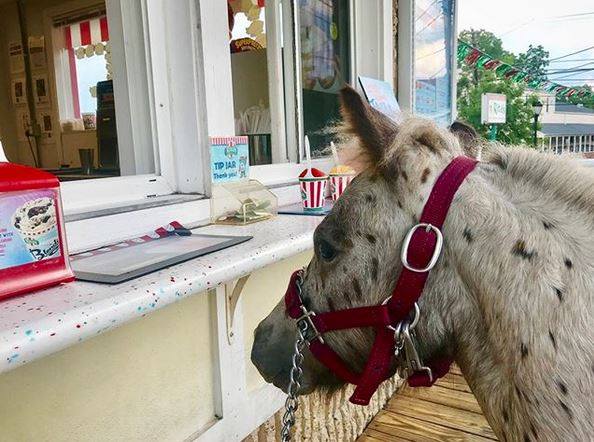
When Jasper was a yearling I would take him for hikes all over to get him used to things he might see when out on a drive. We would walk down roads to get used to cars passing, hike in the parks where he might see bikers, strollers, dogs, you name it. We even walked to Rita’s Water ice once where he got to order at the window!
We would play around with all sorts of objects like tarps, balls, cones, water, hoola-hoops, jumps, decorations… literally anything I could find that is out of the ordinary. I truly attribute this partly to how brave he is now as a coming 6 year old. Not only that, but all of these crazy and fun adventures strengthened our partnership and taught Jasper to trust me.
A safe driving horse is one who is both confident enough to handle things on their own, but in sync with you enough to look for and ask for guidance.

Pingback: I Want to Drive my Equine: How do I Start? – The Pony Bunch
Pingback: I Want to Drive my Equine: What Do I Do Next? – The Pony Bunch